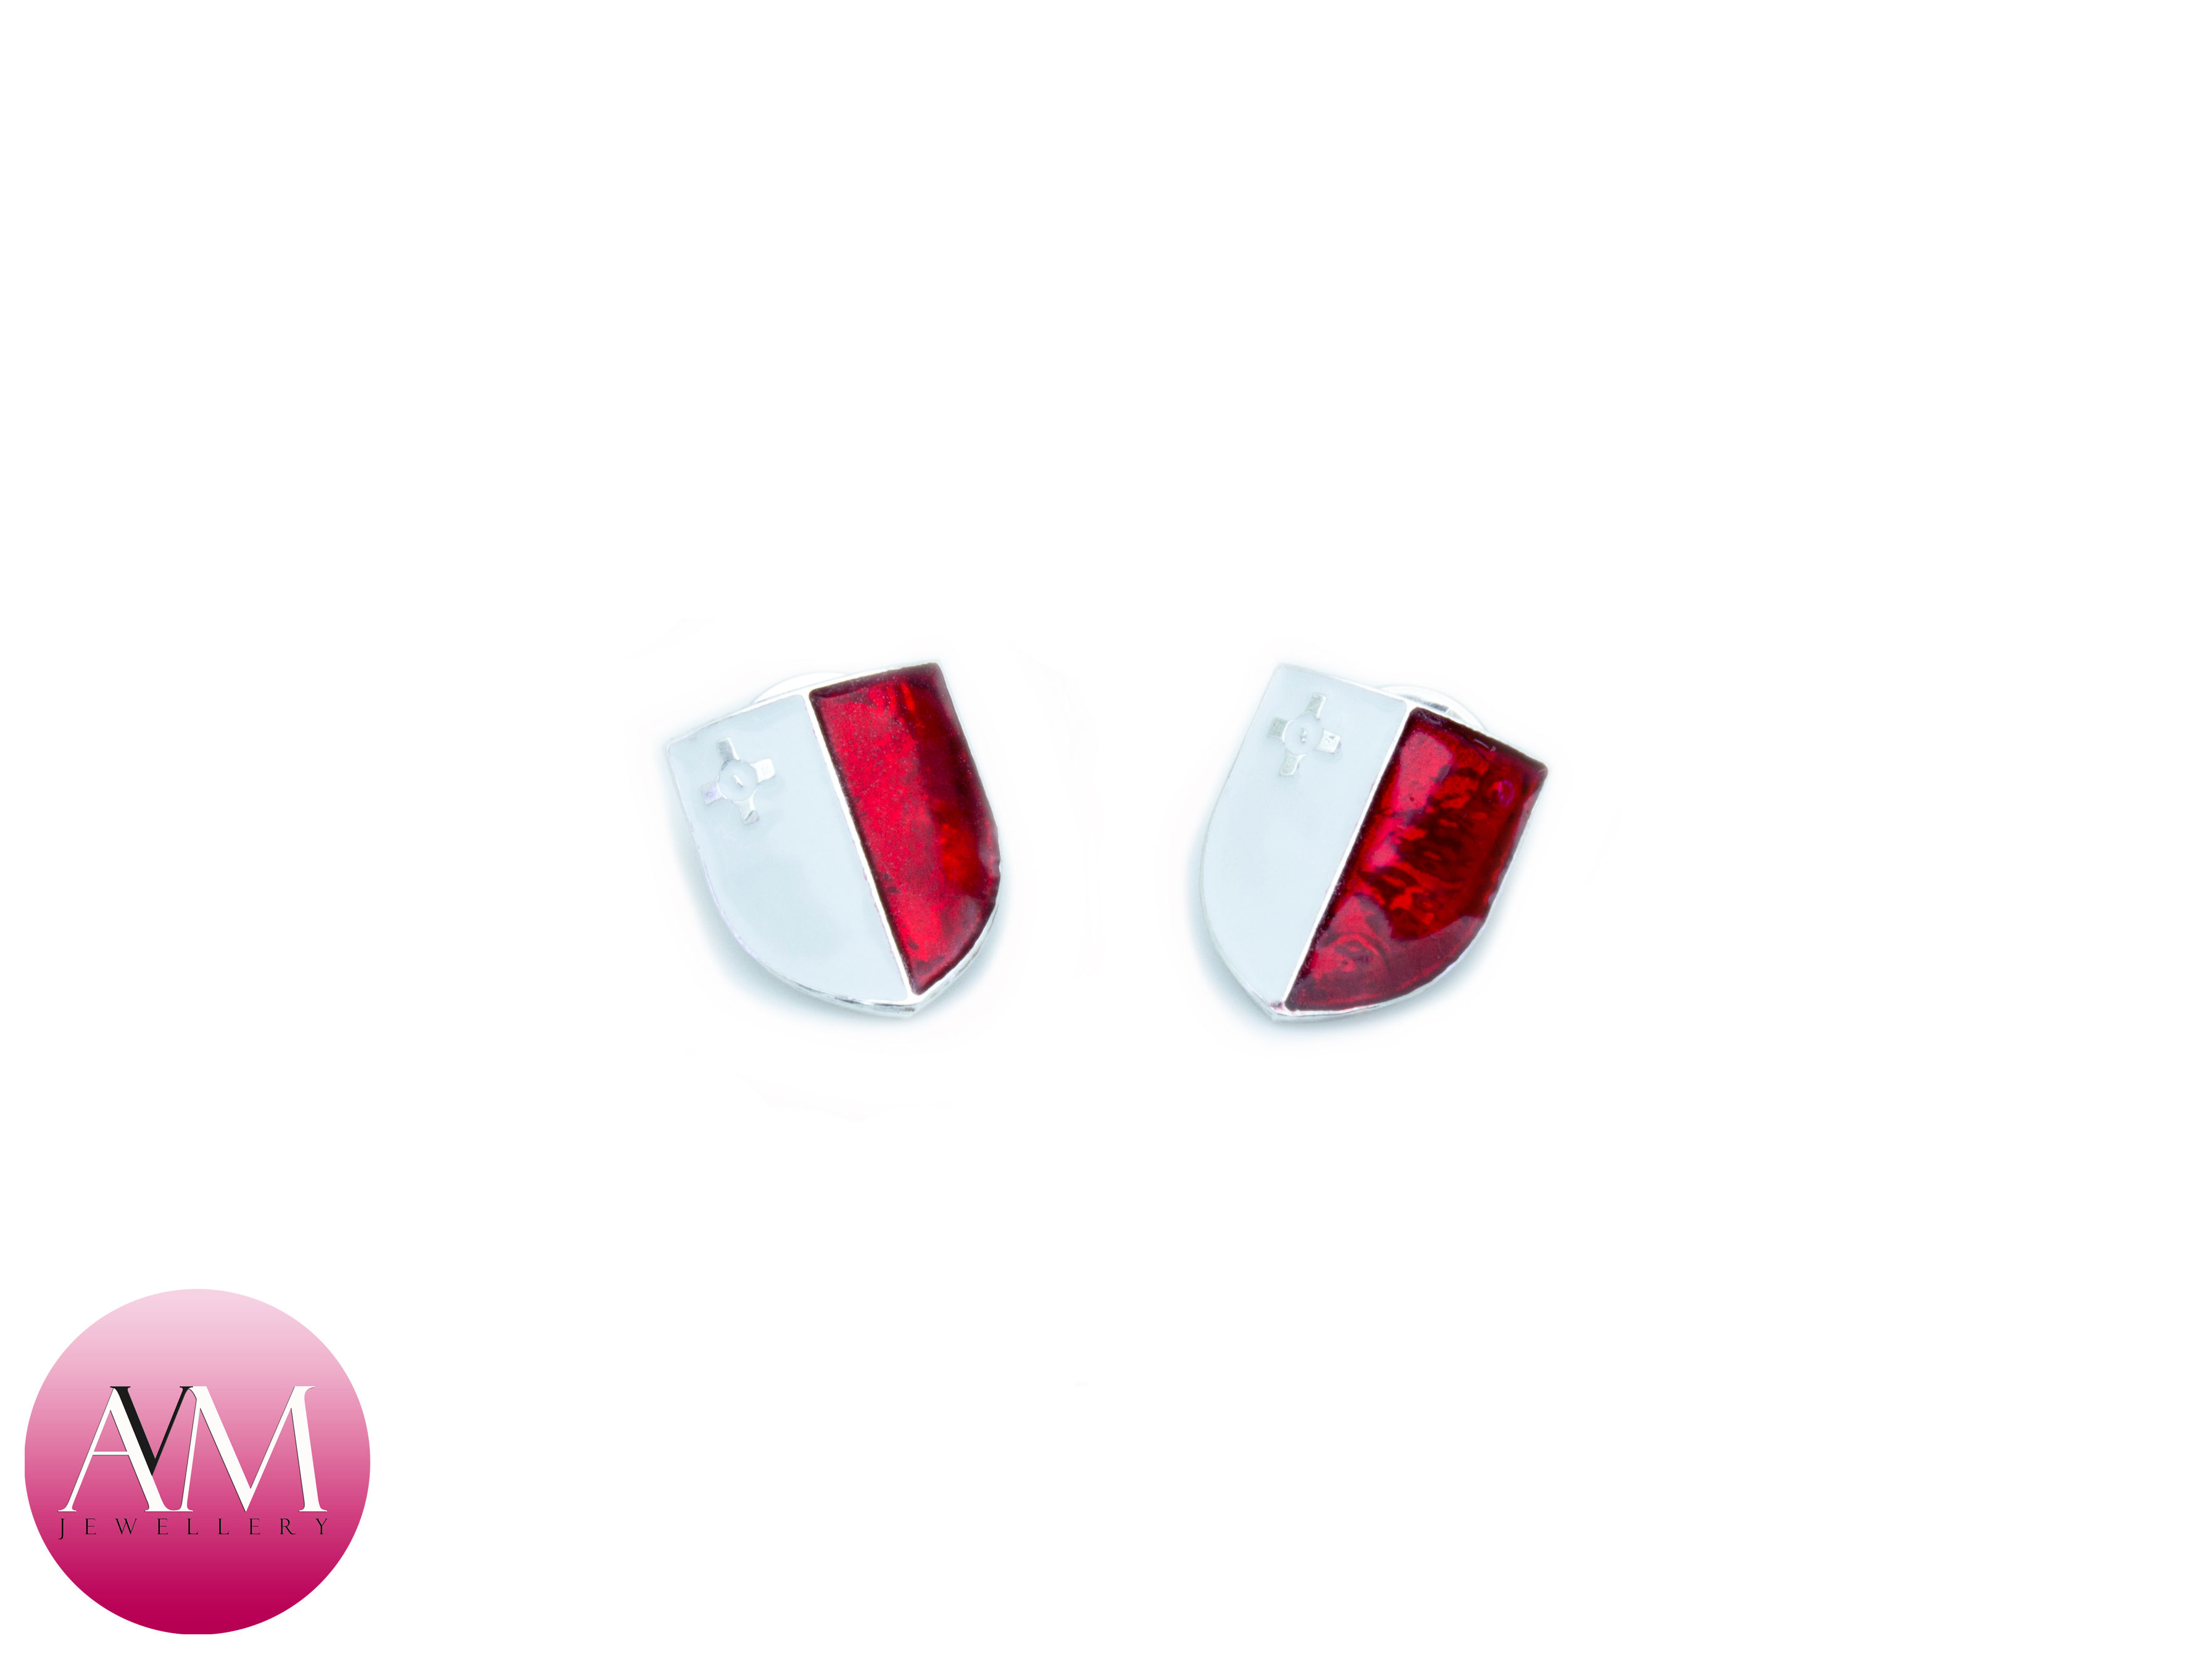
Sterling Silver Maltese Flag Shield Lapel Pin
Enamelled Maltese Flag Shield Lapel Pin in Sterling Silver

Item Code: MFLGPIN
Details
Size: 16mm X 13mm
Weight (Silver): 1.9g
Material: .925 Sterling Silver
Enamel: EFCOLOR Transparent Red
Finding: .925 Clutch Back (NOT Handmade)
Come in smart Red Leatherette Box with a Numbered Provenance Certificate from the Malta Crafts Council.
Please Note
All our items are individually hand crafted and will therefore be unique. As such they may vary slightly from the picture shown.
Not all lengths/sizes of the same item are stocked and that it may not be possible to post the next day. So, if necessary, please allow an extra 7 days for these items to be hand crafted for you.
All weights are extrapolated.
History
The flag of Malta is a basic bicolour, with white in the hoist and red in the fly. A representation of the George Cross, awarded to Malta by George VI of the United Kingdom in 1942, is carried, edged with red, in the canton of the white stripe. Tradition states that the colours of the flag were given to Malta by Roger I of Sicily in 1090. Roger's fleet landed in Malta on the completion of the Norman conquest of Sicily. It is said that local Christians offered to fight by Roger's side against the Arab defenders. In order to recognise the locals fighting on his side from the defenders, Roger reportedly tore off part of his chequered red-and-white flag. This story has, however, been debunked as a 19th-century myth, possibly even earlier due to the Mdina, Malta's old capital, associating its colours with Roger's in the late Middle Ages. The flag of the Knights of Malta, a white cross on a red field, was a more likely source of the Maltese colours, inspiring the red and white shield used during the British colonial period.
Technique
- Negative of Maltese Flag pattern is laser printed on blue PnP paper.
- The negative is then heat transferred onto a polished silver sheet.
- Silver sheet is suspended upside down in Ferric Nitrate Solution.
- Exposed areas of the pattern are etched away over a period of hours.
- When the desired depth is reached the patterns are cut out.
- Item is constructed, sanded down, cleaned and polished.
- Colour is added by applying EFCOLOR enamel to the etched areas.
- Enameling is repeated 2 or 3 times to get desired depth.
- Item is cleaned of excess enamel and given a final thorough polish.


